|
This tutoria explains how to upload files to the CdCC web site. Preparation General Procedure
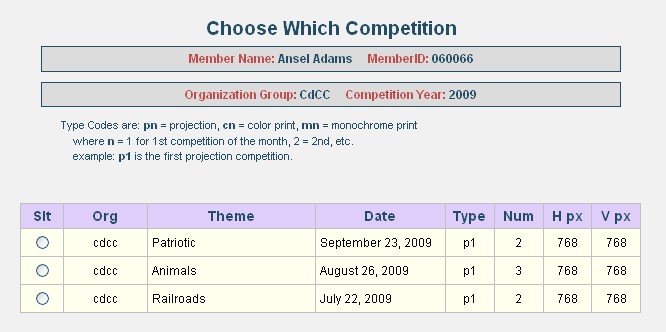
Note: Always check Club Compeition Rules and specific competition rules as they may have requirements that differ from those above. Choose Menu Option From the main menu bar, click Competitions > Upload Image Files. The page then shows your member name, member ID, the organization group and the competition year on lines near the top of Figure 1. At the bottom of Figure 1 there is a table listing all of the competitions for which you may upload files. (There are others, but we will get to them at the end of this tutorial.)
The table provides information about the specific competitions that you will select.
Near the bottom of this page we describe how to select competitions held by other organizations and other years. For now,we will concentrate on uploading to CdCC. Competition Action Buttons The action buttons on the left side of the screen are shown in Figure 2. The purple button is used to select different organization groups and competition years. We describe these later. The blue button is used to indicate your specific competition choice.
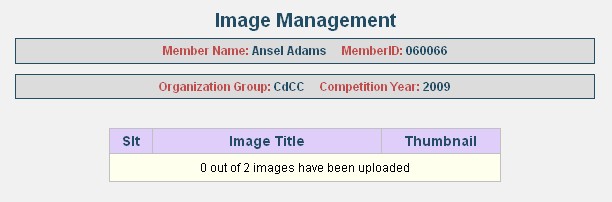
You must first select a competition by clicking on one of the radio buttons in the Slt column. After selecting a competition, click on the blue Select button. A new page like that shown in Figure 3 will appear. Image Management The image management page offers options to upload an image file, remove an image from a competition or edit the title of an already uploaded image.
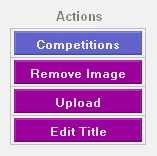
The table shown in Figure 3 is used to select and display information about images that you have uploaded for the specific competition. The table is empty because no files have been uploaded yet. Notice that the page shows reminders of the member and competition details at the top of Figure 3. Image Management Action Buttons The action buttons on the left side of the screen are shown in Figure 4. The blue button causes a return to competition selection, and the purple buttons are used for actions relating to the images.
The list below gives a brief synopsis of how each action button is used.
Uploading a File Clicking the Upload button shown in Figure 4 brings up the upload web page. Only part of the page is shown below.
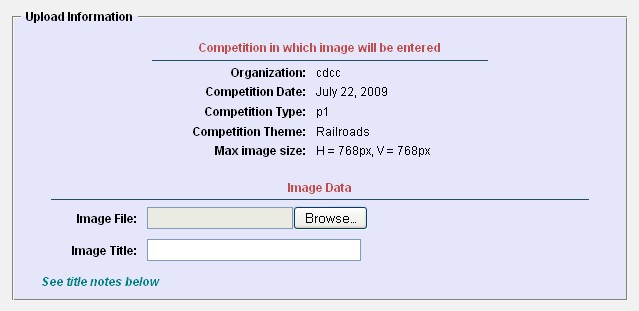
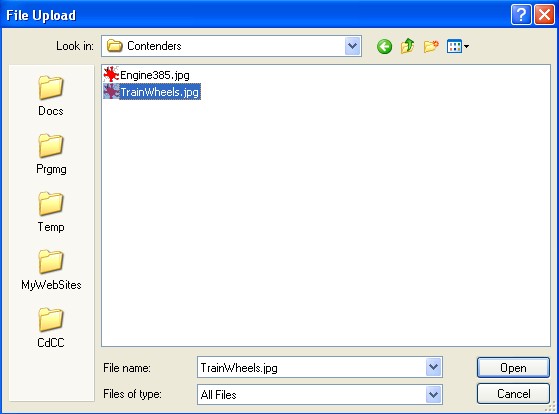
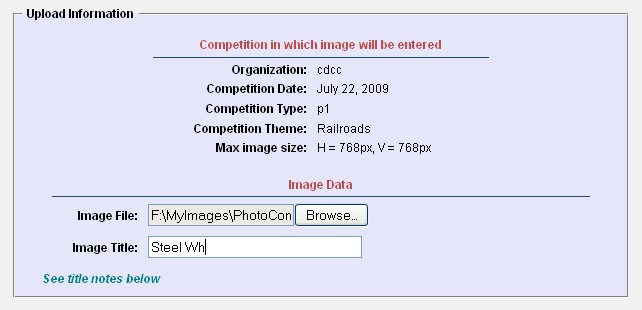
Information is shown in the top portion of Figure 5 as a reminder about which competition the file will be uploaded. The bottom portion of Figure 5 shows the two fields that you must complete indicating where the image file is located in your computer and what title you want to give the image. We describe each of these fields separately. Image File You enter the complete path to the image file in the top field, labeled Image File. An easier alternative is to browse for the file in your computer. Click the Browse button to display a file dialog similar to that shown in Figure 6 below. Note: You may see a different-looking dialog depending upon whether you use a Mac or PC and the operating system on your computer.
The file that you choose may have any name, but it must have a .jpg extension. It is not necessary that your file name conform to any convention because after uploading, software on the web site will rename the file according to the latest CdCC convention. For example, it is perfectly acceptable to choose a file with the name "img_0765.jpg". Note: The maximum image dimensions were shown in the reminder of Figure 5 above. If you choose an image file that is larger in either the horizontal or vertical direction, software on the web will automatically resize the image saved at the web site to meet the size requirements. If that happens, the club does not guarantee image sharpness or any other features. The web site software does not scale images that meet the size requirements or are smaller. Note: Software on the web site does not alter the DPI or PPI settings in JPEG files. After specifying an image file, you must enter a title in the second field labeled Image Title. Figure 7 illustrates entering a title.
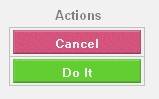
Note: There are special limitations for titles. These are described in a note entitled Title Notes beneath the entry fields on the web page and are not duplicated in this tutorial. Upload Action Buttons Two action buttons on the left side of the screen either cancel the upload or initiate it.
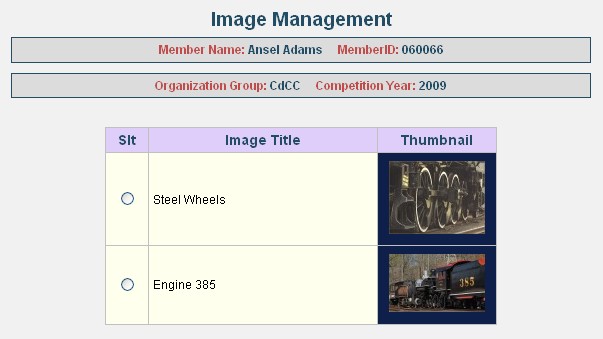
When the upload completes, the image management page is displayed as shown in Figure 9.
Figure 9 shows that one file has been uploaded, and entered into the competition. If the competition permits more images per entrant, then repeat the upload procedure. Figure 10 shows two images uploaded.
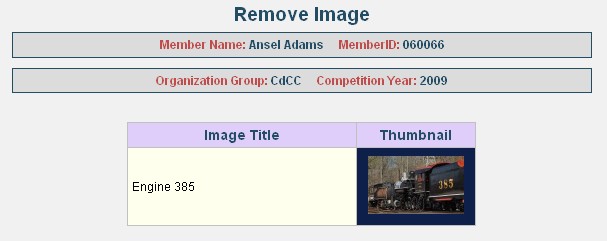
Removing Images There may be times where you decide to withdraw an image from competition. There are other times when you want to replace an image that you previously uploaded with a different image - either an improvement over your original upload or an entirely different image. Remember that you may only submit a specific number of images for each competition. The software will not allow you to upload more. To upload another image requires that you remove one of the images first. Refer to Figures 10 & 4. Select an image to remove by clicking one of the radio buttons under the Slt column as shown in Figure 10 and then click the Remove Image button shown in Figure 4. After clicking the Remove Image button, you are presented with another web page asking you to confirm the removal. A sample is shown in Figure 11.
Pressing the green-colored Do It button tells software on the web site to remove the image. Editing Image Titles It is permissible to change an image title prior to the upload deadline. Refer to Figures 10 & 4 above. Select an image whose title is to be changed by clicking one of the radio buttons under the Slt column as shown in Figure 10 and then click the Edit Title button shown in Figure 4. After clicking the Edit Title button, you are presented with another web page with a field to change the title. A sample is shown in Figure 12.
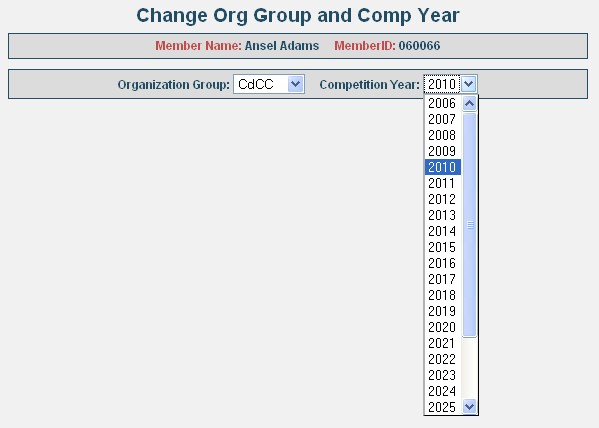
As previously described, there are special limitations for titles. These are described in a note entitled Title Notes beneath the entry field of the web page. Pressing the green-colored Do It button tells software on the web site to revise the image title. Chosing Different Organization Groups and Competition Years You can change the organization group supported by this web site. An organization group is simply a high level means to categorize organizations. You may also change the competition year for uploading to competitions in other years. Referring to Figure 2, click the puprle OrgGrp & Year button. A web page as shown in Figures 13 & 14 appears.
Figure 13 illustrates how to choose a different organization group. Most of the time, club members will use CdCC. Provisions are included in the software to support other types of competitions, such as PSA, however, whether or not the coordinators for those organizations make use of this facility is determined by them. Please check with our local representatives regarding their use of this feature. Choices of organization grouping are
Figure 14 illustrates how to choose a different competition year. After you choose a different organization group or a different year, press the green-colored Do It button to display the respective competitions. The end. Good luck and may all your images win awards! |